In the "Users" section, a list of portal users with access rights is formed and additional information about employees is indicated: employee category, work schedule, contact information, etc.
The central part of the window displays a list of portal users.
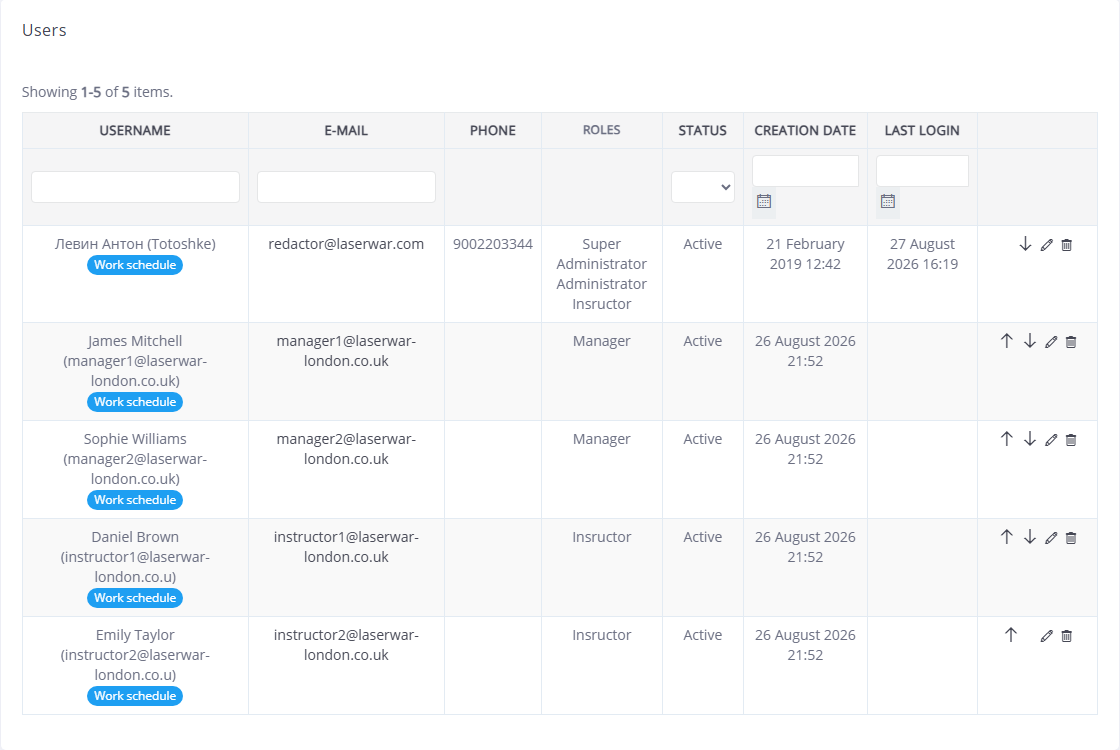
You can filter the list by the value of any column by entering the corresponding value in the top row of the table. To change the order of list elements, use the  .
.
You can change the data of a previously entered position by clicking the in the line with its name. Positions can also be deleted using the .
To add new user details, click the Add user button. This opens the employee card.
Personal data
In the Personal data area, basic information about the employee is entered. Required fields are marked with an asterisk.
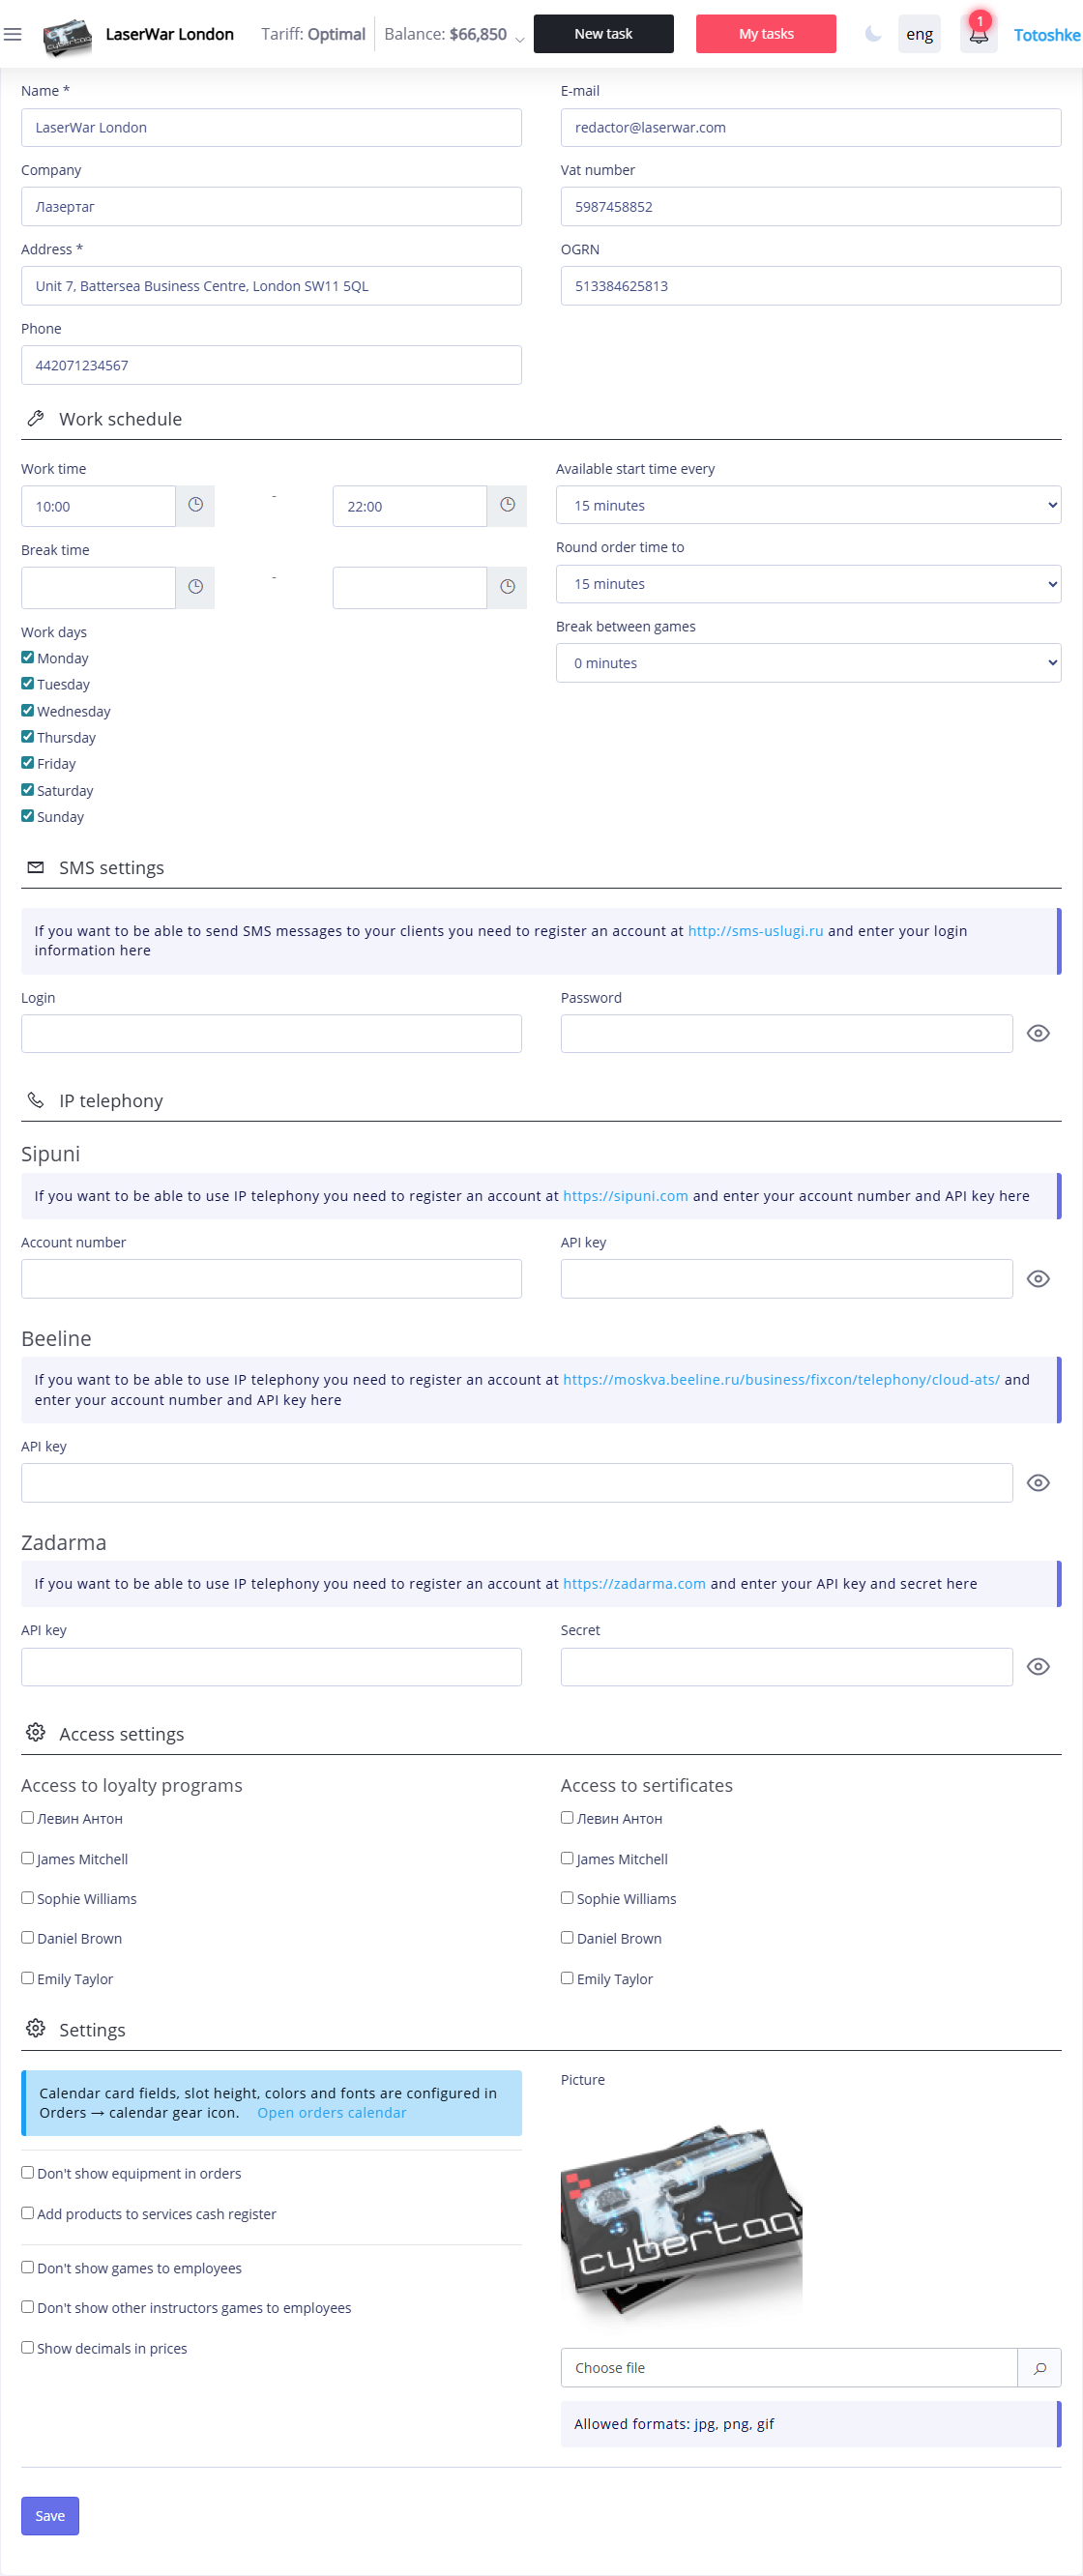
In the appropriate fields, enter Username, Email, Password (the password must be entered twice, the specified values must match).
You can also specify theLast Name, First Nameand Telephoneof the employee in international format.
Work
In the Work area, the employee’s work data is recorded.
- Category select from the list (creating a list of categories is described in detail Settings - Employees - Categories);
- check the boxes next to the types of games that the employee works with (creating a list of game types is described in the section Settings - Games - Game types).
Settings
In the Settingsarea, you can set the CRM system user parameters.
The user must set Status:
- Active– there is a schedule, free time, open for online registration;
- Not active - the employee does not have free appointment windows during all working days;
- Deleted– the user has been removed from the system;
- On sick leave—the employee is on sick leave;
- On vacation—the employee is on vacation.
To configure user access rights to the portal, check the appropriate boxes:
- Manager - a user with these rights has access to all sections of the portal, except for the "Settings" section;
- Administrator- a user with these rights has full access to sections of the portal;
- Instructor - a user with these rights has access to the “Requests”, “Cashier” and “Warehouse” sections.
You can also select a Color in which all requests of this user will be colored.
You can upload a user photo in *.jpg, *.png or *.gif format. Recommended resolution 500x500 px.
Click theSave button to apply the changes.
User Invitation
If you don't have enough information about a user, you can send an invitation to that user. To do this, use the Create invitation button in the list of users. This opens the invitation creation window.
In the window that opens, select the required Access rights for the new user. To send an invitation link by email, fill in the Email field. This field can be left blank: in this case, the invitation link will be displayed on the screen when saving the data and you can send it to the new user in any available way.
After clicking on the link, an authorization window opens, in which you must enter your email address in the Email field (if you did not specify it when creating the invitation), enter and repeat the password (at least 6 characters, the values must match) and click the Registration button.
You can view the list of generated invitations by clicking the User invitations button in the main window of the section.
To delete rows with user invitation data, check the boxes next to them on the left side of the list and click the .
Working schedules
Under the name of each user in the main window there is a button Working schedule. When you click it, a calendar opens, which displays the employee’s working time.
This data can be used when planning an employee’s employment, and also as a time sheet. You can move between calendar pages using the . The time when the employee is active is highlighted in green. You can add or remove working days or hours by clicking on the desired table cell.
In the schedule, you can specify on which days the employee is not available at the workplace: to do this, click the +Add days of absence button. In the window that opens, enter the employee's absence period using the keyboard or using the drop-down calendar, and also select the reason for the employee's absence from the drop-down list.
The list of reasons for employee absence is formed in the subsection "Settings" - "Employees" - "Reasons for absence".
To apply the changes, click the Submit button. In this case, the reason for the employee’s absence will be displayed in all cells for which the period of absence is specified.
To view previously entered employee absence data, click the Employee Absence Days button above the chart. In the list that opens, you can set a filter in the header of any column.
You can change the data of a previously entered position by clicking the in the line with its name. Positions can also be deleted using the .