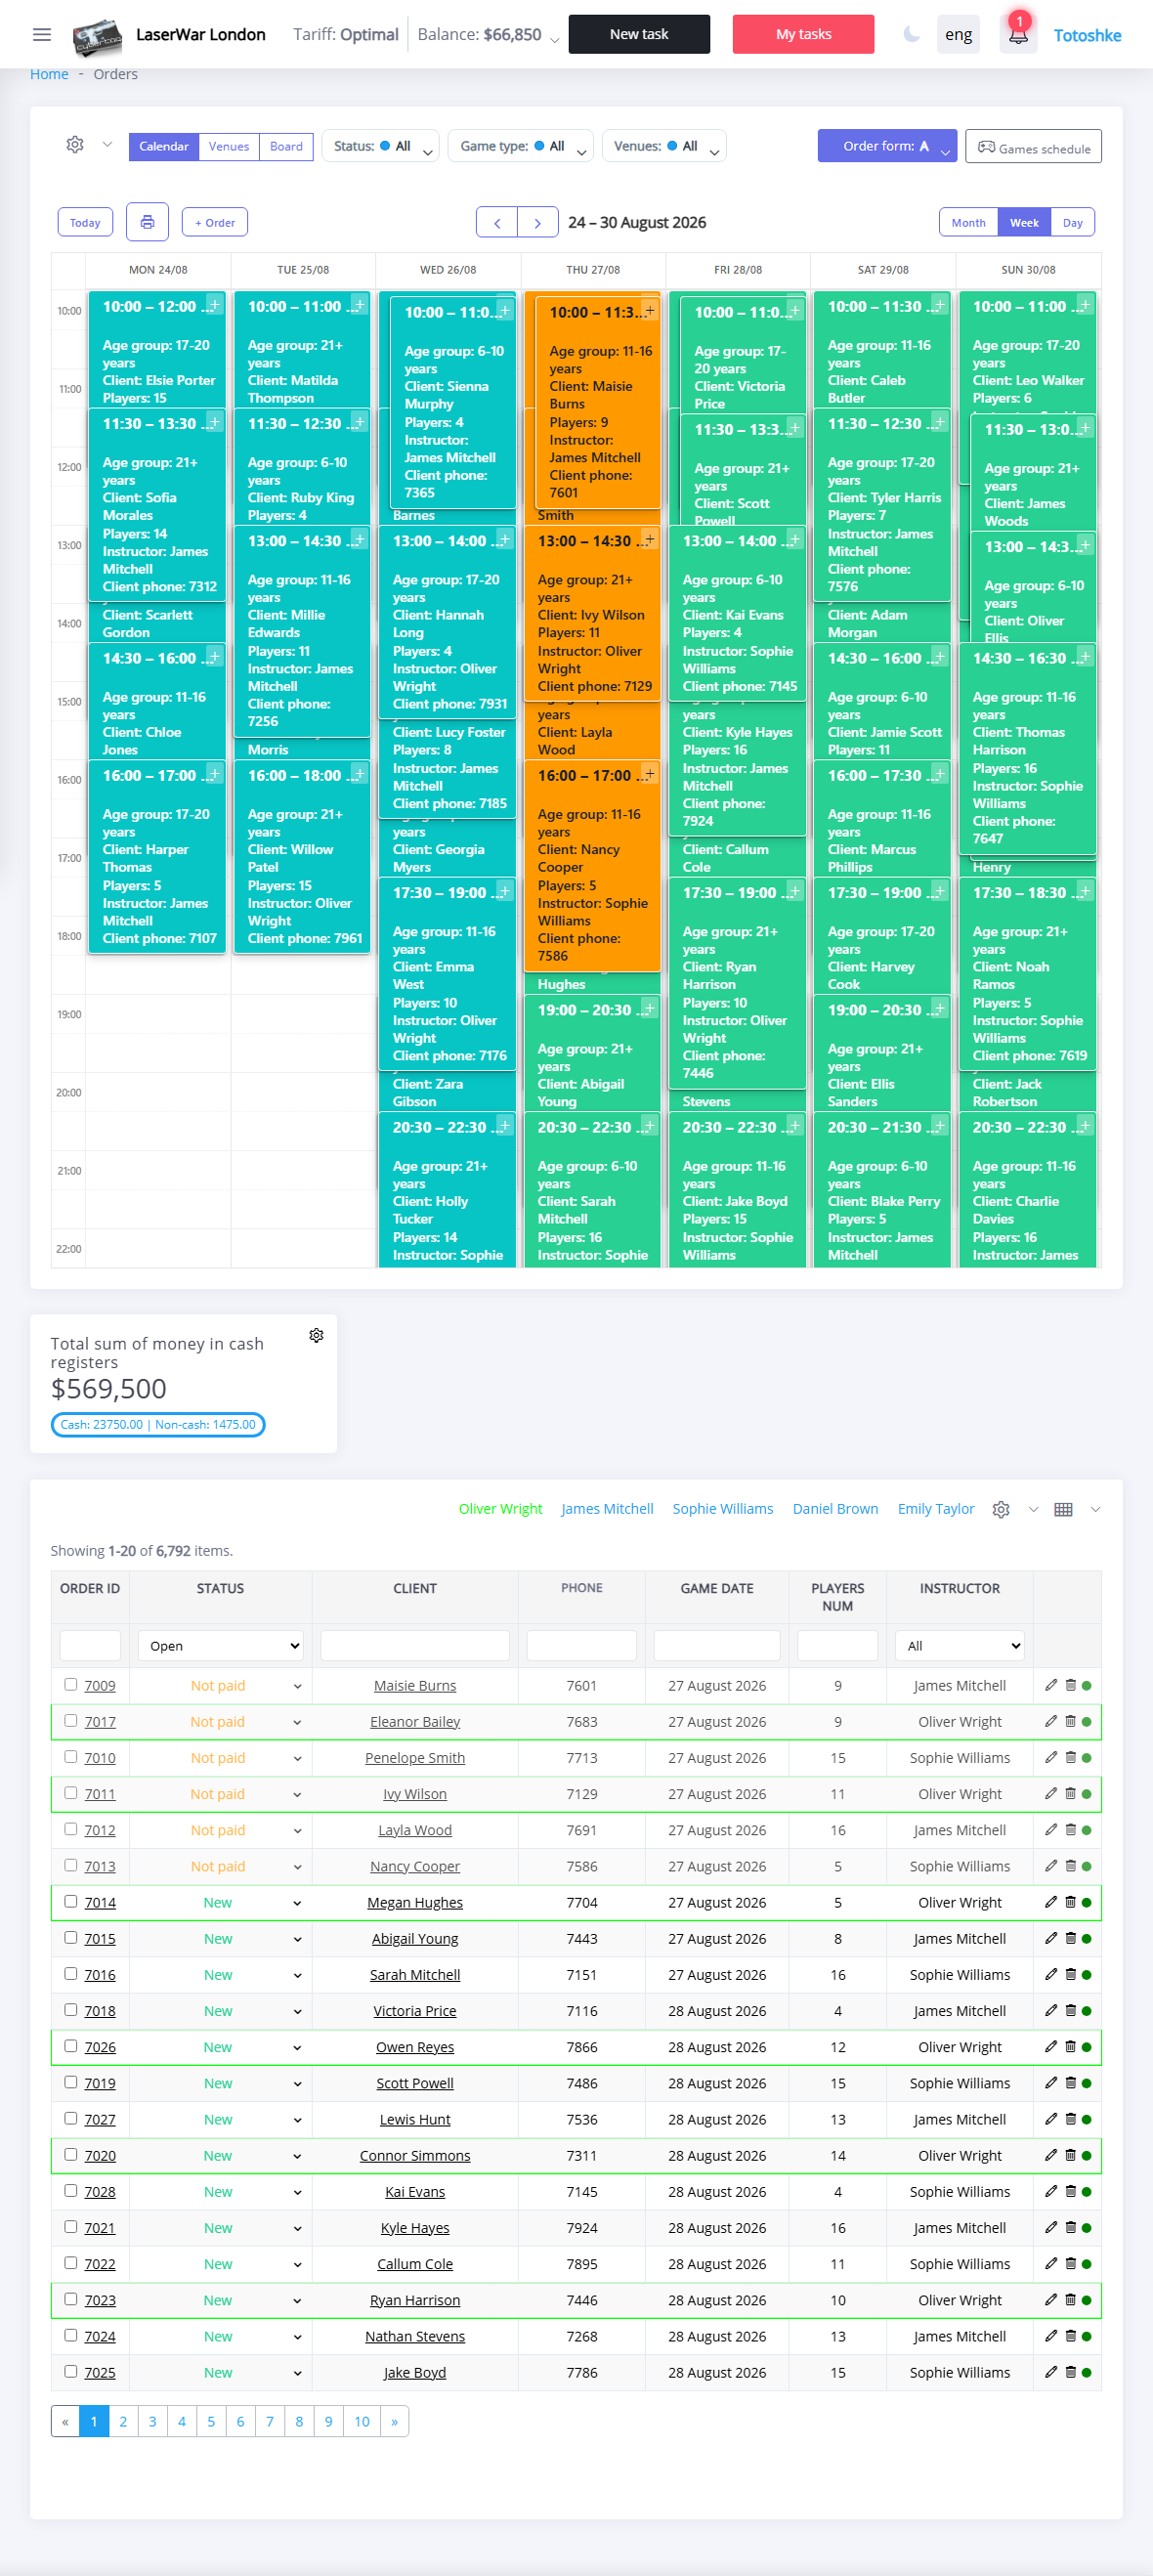
A new application is created in the "Application" section.
To enter application data, click the +Application button above the calendar or list (you can also simply click the desired line in the calendar). This opens a window in which you must enter the application data (required fields are marked with an asterisk).
- Client - data of the client from whom the application was received. Start entering the client's name using the keyboard: if the data has already been entered into the system, a drop-down list will be displayed on the screen from which you can select the desired item. To enter data for a new client, click the + button to the right of the field. Filling in the data of a new client is carried out in the section "Clients";
- Phone - client’s contact phone number to confirm the application. When selecting a client, this field is filled in automatically from the client card, but if necessary, the value can be changed manually from the keyboard (it is acceptable to enter numbers without the “+” sign). And vice versa: when you enter a phone number manually, the system searches the customer database and offers to fill in the Client field automatically if it finds a match;
- Game date - the date for which the event is booked (entered from the keyboard or selected from the drop-down calendar);
- Game time - the start time of the event. To fill out this field, click the
 and in the window that appears, select the start time of the game. In this list, available positions are displayed in green (for which no applications have been generated for the site specified in the Venue field on the specified date), gray - unavailable (applications have already been generated for this time for the site in the Venue field), blue - break time (club working hours and break time are set in the subsection "Settings" - "General settings"). A time is considered unavailable for booking if a request for the selected type of site has already been generated at that time;
 - Duration (hour) - duration of the event in hours (this field is filled in from the keyboard with an integer);
- Number of players - the number of participants in the event;
- Ground - playground: arena, outdoor event, etc. (formation of the list of sites is described here).
Additional parameters
Clicking the Additional parameters button opens an area for entering application data.
- Event type - selected from the drop-down list (setting up a list of event types is described in detail here);
- Age group - the age composition of the event participants (setting up a list of age groups is described here);
- Game type - type of game battle: paintball, airsoft, etc. (setting up game types is described here);
- Equipment - a set of units or sets of gaming equipment necessary for the event (if the subsection "Settings" - "General settings" is checked Do not keep records of equipment in applications, this button is not available):
- Equipment - on this tab you can select a list of equipment units to reserve for your application. The list of equipment units is generated in the section Warehouse - Equipment. Only equipment for the type of game specified in the application field of the same name is available for selection. Additionally, you can filter the list of equipment items by category using the buttons located at the top of the additional window. The list shows only those units of equipment that have an available balance at the date and time of the request. To reserve equipment for an event in the application, indicate the required Quantity (if the specified number of equipment exceeds the available one, the maximum available number of units will be added to the application);
- Configurations - on this tab you can select a list of gaming equipment kits to reserve for your application. The formation of kits is carried out in the section Warehouse - Kits. Only equipment for the type of game specified in the application field of the same name is available for selection. Additionally, you can filter the list of equipment items by category using the buttons located at the top of the additional window. The list shows only those units of equipment that have an available balance at the date and time of the request. To reserve equipment for an event in the application, indicate the required Quantity (if the specified number of equipment exceeds the available one, the maximum available quantity will be added to the application);
- Goods - a set of goods necessary for the event (the list of goods and their prices can be configured in the Warehouse - Goods section). When you click the Add products button, an additional window opens with a list of available items. You can filter the list by category by clicking the corresponding button at the top of the window. To reset the filter, click the All button. To reserve goods for an event in the application, indicate the required Quantity (if the specified number of goods exceeds the available quantity, the maximum available quantity will be added to the application). Click the Select button to save your changes and close the window. The main application window will display information about which goods are reserved and their cost (the cost is calculated as Sale Price of goods * Quantity);
- Other services - additional services that the client ordered to calculate the cost of the application (setting up additional services and their cost is described here);
- Cost of goods - the total cost of all selected goods (calculated as Selling price of goods * Quantity, the selling price of goods is indicated in the section Warehouse - Goods);
- Payment has been paid - check this box if the goods in the application have already been paid for.
Additional information
- Instructor - select an instructor from the list to conduct the game;
- Status - select the status of the application from the list for further analytics;
- Note - in this field you can leave any comment on the application: special wishes of the client, reasons for changing the discount, etc.
Prepayment
When you go to the Payment tab, a page for entering prepayment data and paying the cost of the application opens.
- Payment option - select “cash” or “card” from the list;
- Prepayment - the amount of advance payment that the client must make;
- Prepayment has been made - check this box if the prepayment has already been made.
Payment
- Payment rate - method of calculating the cost of the game in the application. The list of payment tariffs is configured in the section Settings - Payment - Payment tariffs;
- Payment option - select “cash” or “card” from the list;
- Payment method - select a payment method for the game from the list. The list of payment types is configured in the section Settings - Payment - Payment methods; You can also click the + button to add an item to the list;
- Cost - the total cost of the event in rubles (entered manually or calculated automatically from the data in the Basic area);
- Discount - the amount of the discount for the specified application. This field is filled in automatically when selecting a Client, if the discount is listed in the Clients section. If a personal discount for the client is not defined, the field is filled in in accordance with the loyalty program (loyalty programs are configured in the section Settings - Payment - Loyalty programs). If necessary, you can change the discount amount manually for a specific application and select a unit of measurement (percentage or rubles) from the list;
- Expected cost of the game - the field value is calculated automatically as Cost (rubles) - Discount (if a discount in rubles is applied) or Cost (rubles) * (100 - Discount) / 100 (if a percentage discount is applied);
- Payable - the cost of the application after making an advance payment. The field value is calculated automatically as Expected cost of the game - Prepayment;
- Payment has been made - check this box if the prepayment has already been made;
- Cashier - this field becomes active if the Prepayment made and/or Payment made checkbox is selected. In this case, you must select from the list the cash desk to which the funds were received. The list of club cash desks is formed in the section Cashier.